
EverStart Jump Starter Won’t Charge? Here’s the Fix
A jump starter that refuses to charge defeats its own purpose. You store it for months, then discover a dead battery the moment you need it most.
Most charging failures trace to four fixable causes: battery sulfation from extended storage, corroded charge ports, a tripped internal protection circuit, or using an incorrect adapter. We’ll walk through how to diagnose each one and restore your unit to full capacity without replacing anything.
Battery Sulfation From Extended Storage
Lead-acid and AGM cells develop sulfate crystals when left discharged for more than ninety days. The crystals coat the plates and block the chemical reaction that accepts new charge.
You’ll notice this as a unit that draws current for ten seconds, then the charge light blinks red or the adapter shuts off. The battery management system interprets the high internal resistance as a fault and cuts power.
Breaking Down Sulfate Buildup
Connect a smart charger rated for the battery chemistry—most EverStart Maxx 800A Jump Starter units use AGM cells, so select the AGM mode if your charger offers one. Leave it connected for twelve hours minimum, even if the light indicates full charge after two.
The extended low-current trickle dissolves light sulfation. If the unit still won’t hold voltage above 11.5 volts after a full cycle, the sulfation has hardened beyond recovery and the battery needs replacement.
Corroded or Damaged Charge Port
The DC input jack collects dust, moisture, and oxidation over time. A thin film of corrosion on the center pin raises contact resistance enough to trigger the adapter’s overheat protection.
Unplug the unit and inspect the charge port under bright light. Look for green or white deposits on the metal contacts, or a loose-fitting plug that wobbles when inserted.
Cleaning the Charge Port
Spray the port with electrical contact cleaner and insert the plug five or six times to scrub the surfaces. Let it dry completely before reconnecting power.
If the port housing is cracked or the center pin pushes inward when you insert the plug, the jack itself has failed. Replacing the port requires disassembly and soldering—warranty service handles this if your unit is still covered, otherwise an auto electrical shop can swap the component in twenty minutes.
Tripped Internal Protection Circuit
Jump starters include a battery management system that monitors voltage, current, and temperature. If the unit was deeply discharged below the safe cutoff threshold—usually around 9.5 volts—the BMS locks out charging to prevent damage.
This shows as a completely dead unit: no LED indicators, no response when you press the power button, and the charge adapter light stays dark when plugged in.
Resetting the Protection Circuit
Disconnect every cable and let the unit sit unplugged for forty-eight hours. The BMS capacitors discharge and the circuit resets to its default state.
After the wait period, connect the charger without pressing any buttons. Many units will accept charge in this reset state even though the display remains dark. Leave it connected for six hours, then check if the power button now lights the display. Models like the EverStart Maxx 1600A Jump Starter and EverStart Maxx 700A Jump Starter both use this reset sequence when the BMS trips from over-discharge.

Wrong Adapter Voltage or Polarity
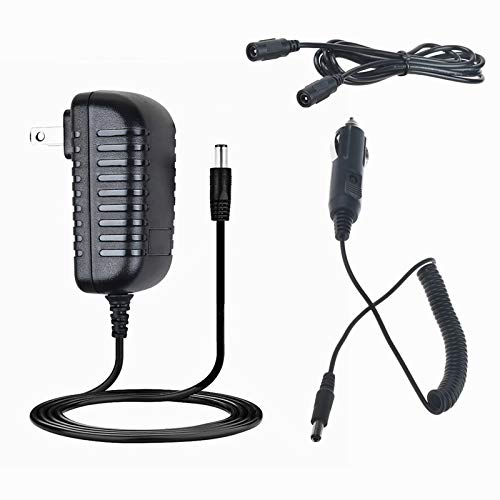
Not every wall adapter with a matching plug delivers the correct voltage. Jump starters typically require 15 volts DC at 1 amp, but generic adapters might output 12 volts or use reversed polarity.
Using an underpowered adapter makes the unit appear not to charge—it draws current but never accumulates enough energy to move the battery voltage upward. Reversed polarity can blow the input fuse or damage the charge controller.
Verifying Adapter Specifications
Check the label on your adapter and compare it to the requirement printed near the unit’s charge port. The voltage must match exactly, and the current rating should meet or exceed the spec.
If you’ve lost the original adapter, measure the port’s center pin with a multimeter set to continuity mode. The center pin should be positive on EverStart models. Buy a replacement that matches both voltage and polarity, and includes the correct barrel plug size—usually 5.5mm outer diameter, 2.1mm inner diameter.
Getting Your Jump Starter Back in Service
Most charging failures stem from sulfation or corroded connections rather than true hardware faults. A thorough cleaning, an extended charge cycle, and verifying your adapter specs solves the majority of cases without spending anything.
If the battery voltage won’t rise above 11.5 volts after following every step here, the cells themselves have degraded past the point of recovery. At that stage replacement becomes the only path forward, but you’ve at least confirmed the diagnosis before ordering parts.
Common Questions About Jump Starter Charging Problems
A fully depleted unit needs eight to twelve hours on the original charger to reach full capacity. The charge indicator may show complete after four hours, but the battery needs the additional time to balance cell voltages and finish the absorption phase.
Leaving it connected overnight ensures a full charge without risking overcharge—the built-in charge controller stops current flow once the cells reach 14.4 volts.
All lead-acid and AGM batteries self-discharge at roughly three to five percent per month at room temperature. The onboard electronics draw an additional small parasitic load even when the unit is off.
After three months in storage, expect the battery to drop below the safe operating threshold. Charge it fully before storing, and top it off every sixty days to prevent sulfation.
Yes, if the charger has an AGM or small-battery mode and you connect it directly to the internal battery terminals. This bypasses the charge port and any failed components in the DC input circuit.
Remove the housing screws to access the battery, attach the charger clamps to the terminals with correct polarity, and run a standard charge cycle. This method confirms whether the battery itself is still good or if the charge port circuit has failed.
A blinking red light during charging signals one of three faults: battery temperature outside the safe range, internal cell voltage imbalance, or a short circuit detected by the BMS.
Let the unit cool to room temperature if it feels warm, then retry. If the light continues blinking after cooling, the battery has developed an internal fault and needs replacement.
Measure the open-circuit voltage after a full twelve-hour charge. A healthy battery should read 12.6 to 13.0 volts with no load connected.
If it reads below 11.5 volts or drops rapidly to below 12.0 volts within an hour of disconnecting the charger, the cells have sulfated beyond recovery or developed internal shorts. At that point replacement is the only fix.